A unique planner for 2025 – Create yours today!
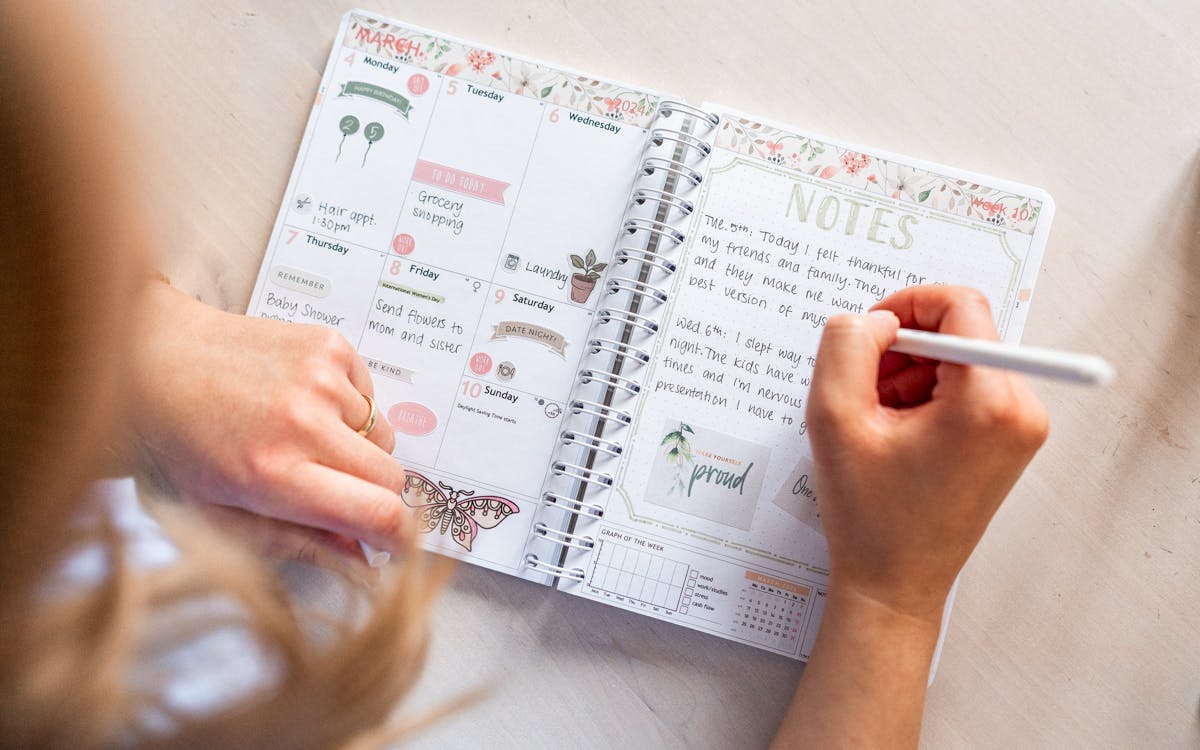
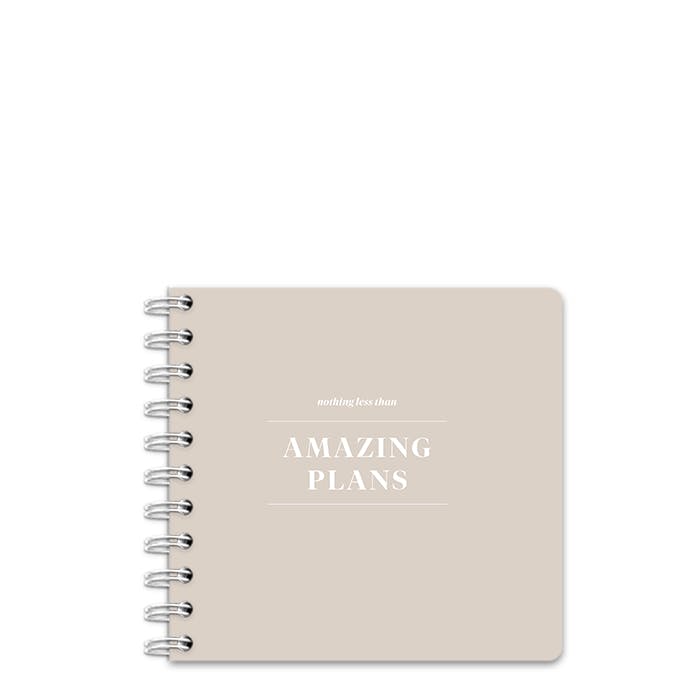
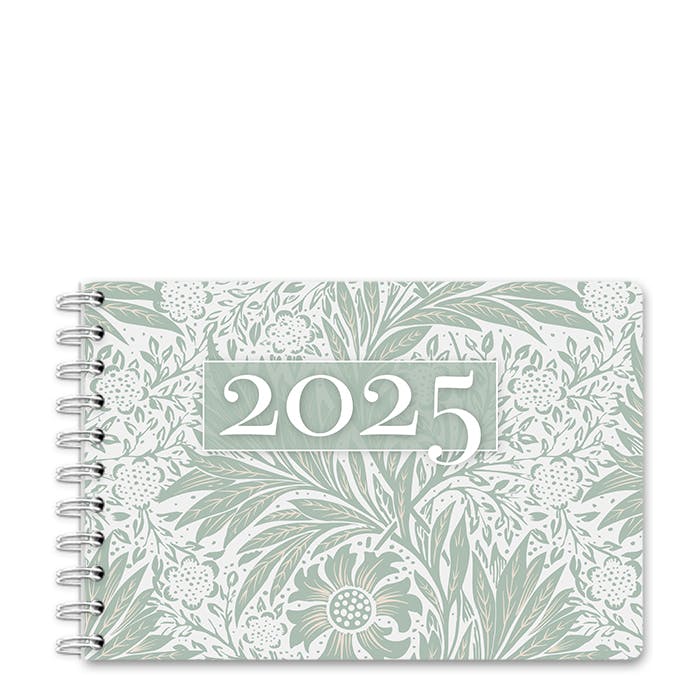
Design a Personal Planner that perfectly fits your needs. Add your own photos, customize the entire inlay, and choose from our themed pages. You can select any start date.
DESIGN NOW
Product Reviews
Personal Planner

Download or print a planner for 2025
*Technically, it’s a yearly overview but you’ll find it super useful.
Looking for a free printable planner? You’re almost in the right place. We don’t offer a full planner, but we do have something just as helpful: a free yearly overview for the whole year.
It gives you a clear month-by-month layout on a single page. Perfect to hang on the wall, keep in your planner, or place on your desk.
Click below to download your free yearly overview – simple, practical, and 100% free.

Choose font
Pick from four beautiful fonts for your planner's weekly overview.
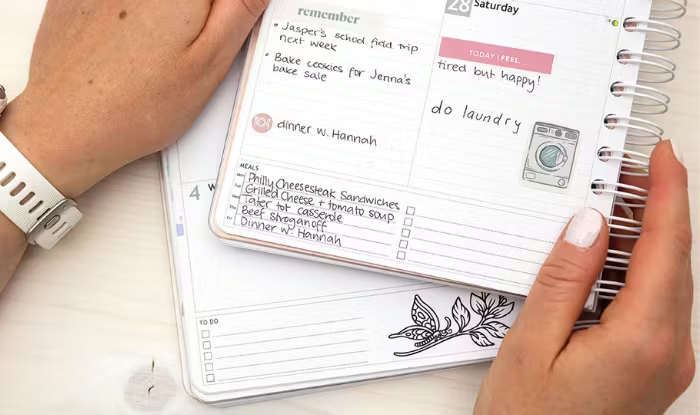
Modules or more space?
Choose whether you want practical modules every week or more space to write.

Your favorite photos on the cover
Upload a photo that makes you happy! It doesn't get more personal than this.
Create the planner of your dreams
Let us worry about the rest!
How to Create Your Personal Planner

1. Size & Cover
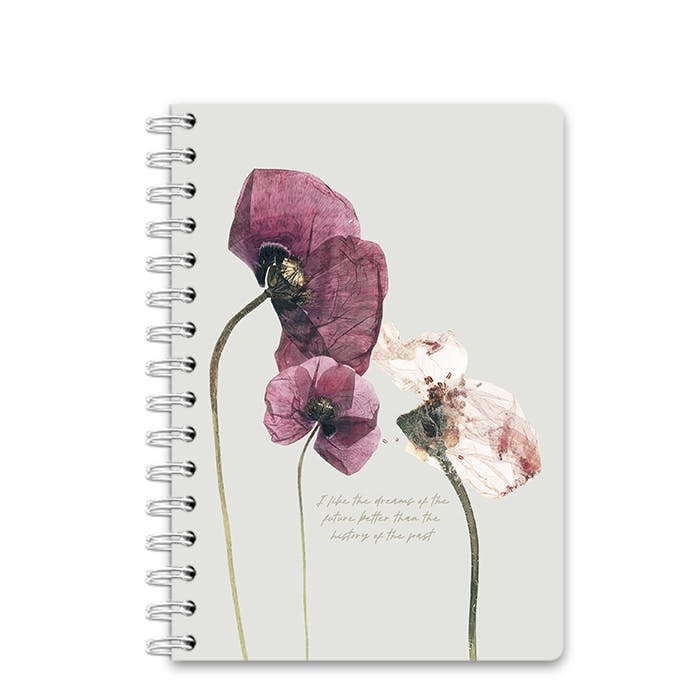
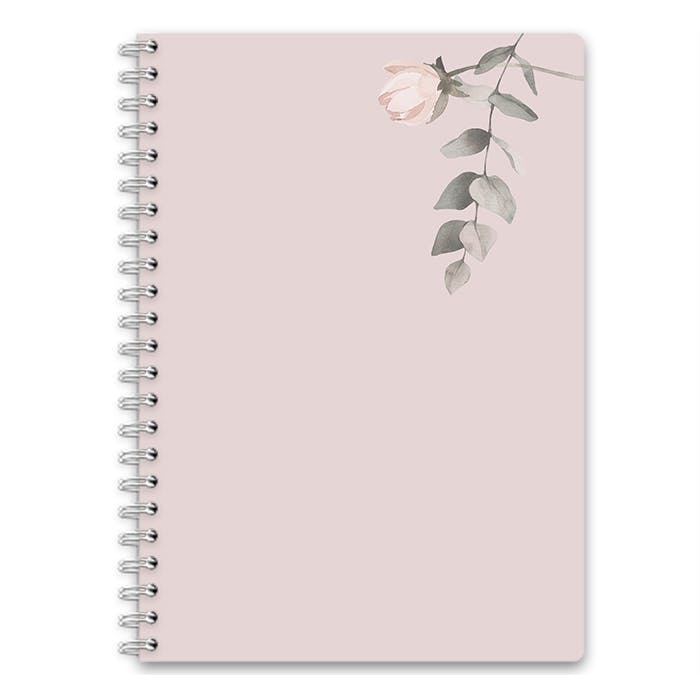
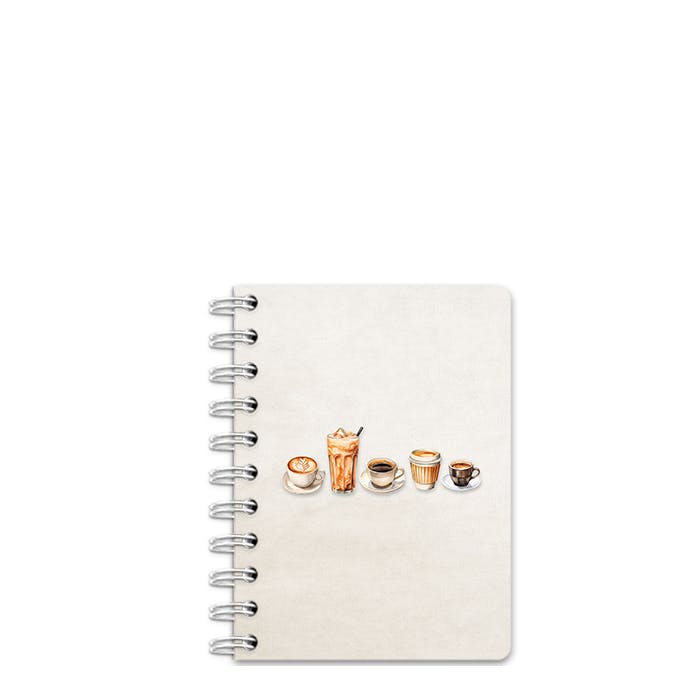
Customize your Personal Planner for 2025 to suit your needs, and to match your style. Start by selecting size and start month. Next, design the front and back cover as you like - you can upload your own pictures, or choose among our many wonderful designs. Don’t forget to add your name to the front cover for that extra personal touch!
2. Calendar Section
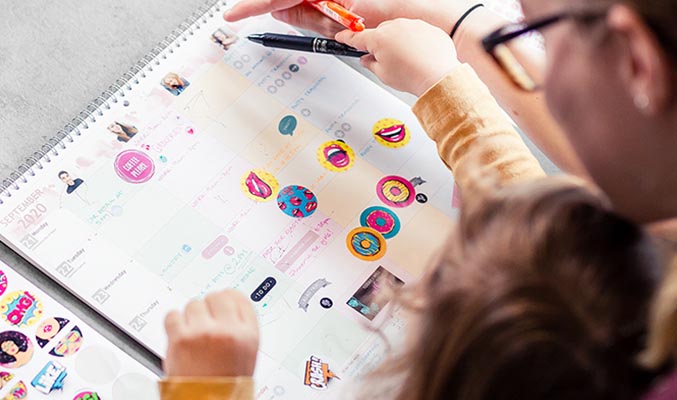
This is where you select the design and layout of your inlay. There are horizontal and vertical weekly layouts and lots of beautiful header options. Perhaps you prefer to have the calendar on the left page, and keep the right page blank or lined for notes? Your call! Add your own personal dates so they come preprinted in your planner, and a couple of clever modules for to-do lists, menu plans, workouts etc.

3. Themed Pages
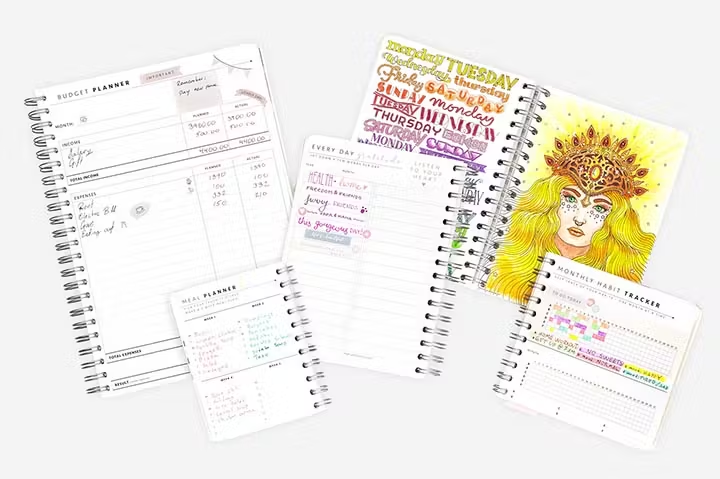
Lastly, choose between a ton of fun and functional themed pages to add at the back of your planner: a meal planner section to organize your menus, year overviews to plan the future, maps and travel journal pages for dreaming up your next get-away, and coloring pages to unleash your inner artist. Or perhaps just ruled pages for old-fashioned note-taking - pick and mix as you like! This section has 18 or 48 pages, depending on the size of your planner.


